My Deck Boards are Rotted! – How do i Replace Them?
Sun, rain and foot traffic all contribute to destroying your deck's wooden planks. While all decking degrades at the same rate, not all of it does so at the same pace. It's inevitable that certain boards may show signs of wear and tear sooner rather than later.
In this blog, Level Headed Carpentry, the best carpentry contractor in Sydney will teach you how to detect and replace any defective boards on your deck without causing any damage to the rest of the structure.
Material Collection
Before repairing your rotten deck, you need some of the material like measurement tape, heavy-duty hammer, circular saws, nail puller, exterior screws, and more. After collecting these materials. If you face any difficulty, you can also take help from carpentry contractors in Sydney. Follow steps as discussed below:
1. Identify and mark bad deck boards
Use a lumber crayon to mark old deck boards that need to be removed. Check for some of the signs like boards curling up at the edges, long splits in the wood grain), Fractured (gouges and loose material), Knot holes (the place where boards are most likely to fracture).
Note: Try to use a red or blue lumber crayon to identify any boards that appear to be fractured or in much poorer condition than their neighbours. You can also get your deck board repair faster by calling your favourite carpentry contractor in Sydney.
2. Identify and calculate footage of lumber
The next step is to examine the thickness of treated deck boards. After indicating the boards that need to be replaced,look for the type of lumber that was used to build the deck's top. Treated 5/4 (five-quarter) timber, which is 1′′ thick and 5-1/2′′ wide, is the most common type of deck board.
Note: To estimate the thickness of your deck planks, pay attention to the edges. The top and lower levels of a two-story deck may contain various types of timber. Make sure the thickness of your lumber is correct before you buy and move a large amount of lumber. With a tape measure, rough measure the old decking. Take approximate measurements to get an idea of how much material you'll need.
3. Buy a new lumber to replace the old
Replacing damaged or missing parts is as simple as visiting your local lumberyard. Make sure to inspect the edges of any boards that have been treated with a preservative, since many may have visible scars and imperfections. Aside from that, look for boards with little knots along the edges. Fracture points may be seen here. Check the undersides of the boards for large knot hollows by flipping them over.
Finally, look for lumber that does not show any obvious signs of warping. You want boards that are long and straight for the most part. Small bows and curves can be churned out, but huge swoops in short spans can’t be handled with.
4. Remove old deck boards
Try to remove old deck boards with a hammer and nail puller. With your new timber supplied to the job site, you may begin removing your old boards. You could just rip these boards out with a pry bar and force. But, you’re likely to harm the surrounding boards that you plan to maintain.
You can also try it another way. Remove the nails from approximately 2/3 of the board length, you may gently pry up the free end and use the length of the board for leverage to crank out the final few nails. Bend down any nails poking through the bottom side of the board, then place the board aside. Repeat the process for all of your designated boards.
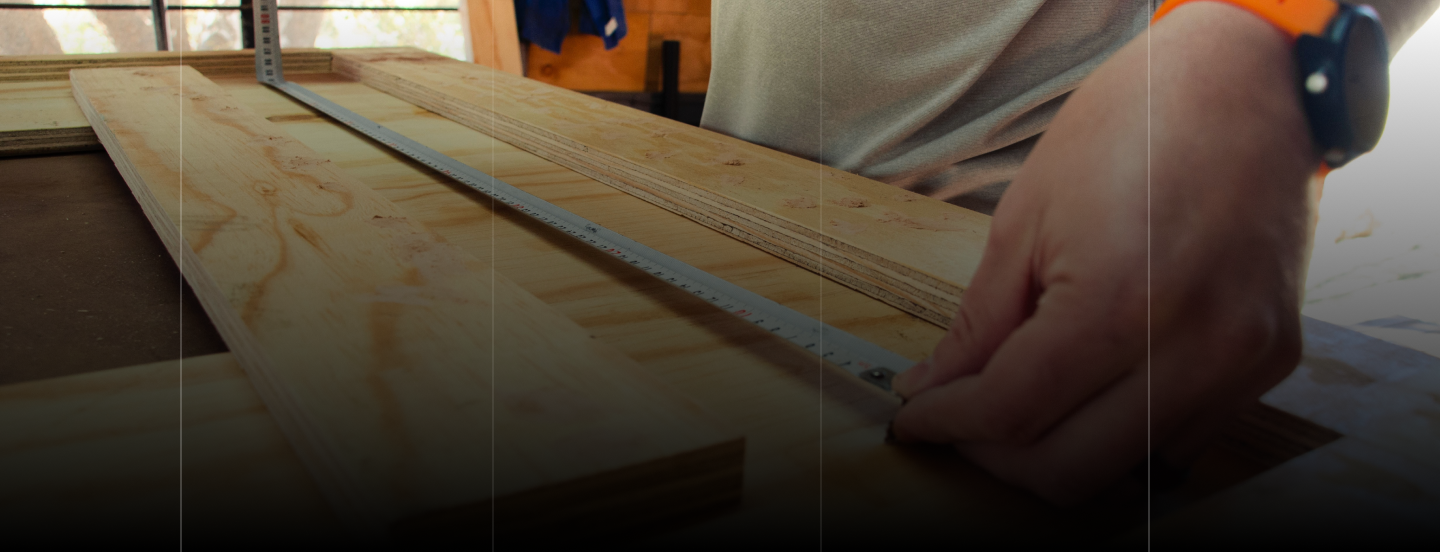
5. Measure for replacement deck boards
The next step is to measure the deck board gap using tape measure. Now take a precise measurement for the new board.
Measure every gap where a board is missing by butting the end of your tape measure against the end of the next board up. Pull the tape across the vacant area, then verify the mark on your tape when it ultimately crosses the existing board at the other end. (It helps to look down on this measurement from above). Subtract roughly 1/8″ from your measurement. This will leave a little wiggle room for the new replacement component to slip into position effortlessly.
6. Sweep the joists
Before installing the new boards, carefully clean the joists. Leaves, pine needles and dirt can fall into the crevices between deck boards and gather on the tops of the structural joists. Take the time to clear this junk off so it doesn’t impede your new boards from setting down where they’re intended to be.
Also, evaluate the general condition of your joists. Make sure they aren’t displaying any indications of decay. Deck framing often takes a lot longer to decay since it is shaded from the light by the boards above it. So, joists should be in fine shape.
7. Cut Replacement pieces
Use a circular saw and speed square to cut replacement. Be sure to “square up” the ends of your boards first, as treated timber typically comes with ragged cuts on the ends. To create cuts, pull and mark measures by hooking your tape measure onto the square end of the board, pulling out the tape blade, and putting a tiny “V” mark at your preferred cut point. Use your speed square to draw a straight line across the tip of the V. Now, line up your circular saw blade such that it will cut this line in half. Use your speed square as a guide to pass the rotating saw blade through the timber at this stage. Let the discarded lumber fall away securely.
If the waste timber is quite lengthy, it might assist to lay another support piece beneath it as well. Just make sure that the prop block is near to the cut point, so that the cut “opens up” and doesn’t bind the blade.
8. Attach Replacement deck Boards
New decking placed and ready for nailing. Test the fit of all new components by putting them in the gaps where they go. If they fit properly, get ready to join them by pre-drilling two holes at each joist site, approx. 1″ from the sides of the board. (You may match up these holes with nailheads or screw heads in nearby joists). Get this job done easily by your matched carpentry contractor in Sydney.
Drive exterior-grade screws into these pre-drilled holes. Make sure that the screws are long enough to sink at least 1-1/2″ into the joist below. You may “countersink” screws by driving them until the heads are barely below the deck surface. Attach screws at all joist positions. Where the replacement board butts up against an original board, “toenail” the screws by driving them at an angle. This will make sure that they sink into the joist they’re sharing with the next board in line.
WRAP-UP
Just repeat these steps for the rest of your remaining boards. Your new deck boards may stand up higher than the boards around them. This is because new treated lumber is often still wet, while older boards have long since dried out. New boards will most likely sit down as they too slowly dry out. If you’re facing any problem in repairing your deck boards, call us at 0412531757 for carpentry contractors in Sydney.